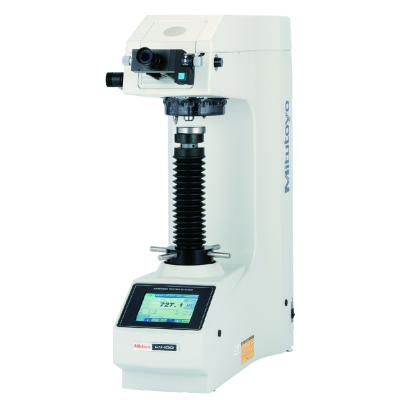
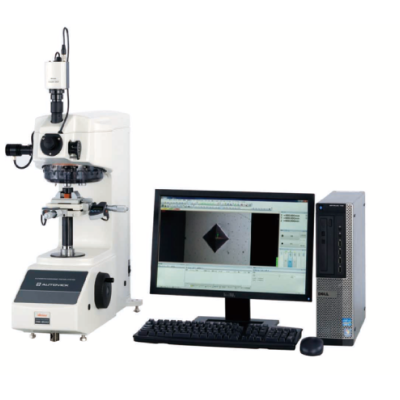
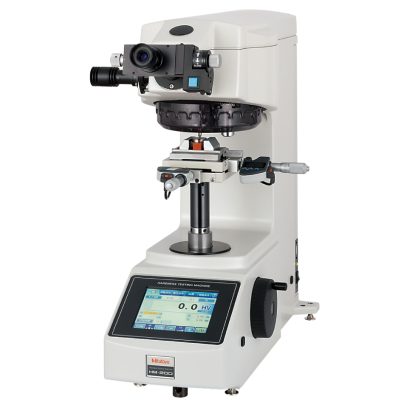
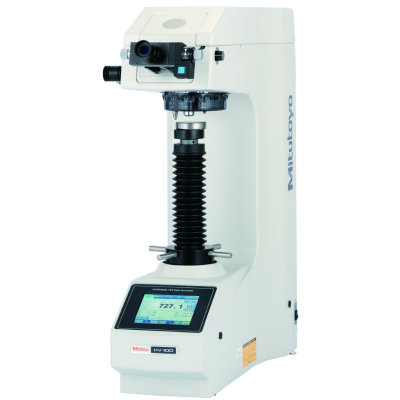
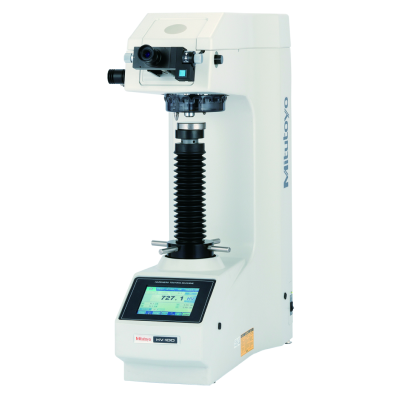
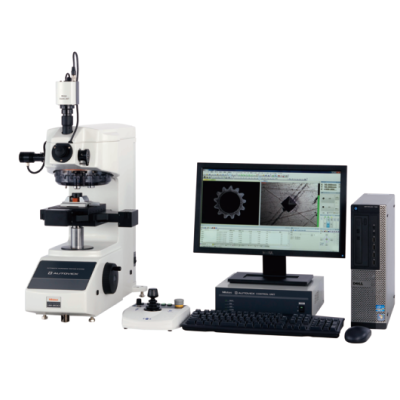
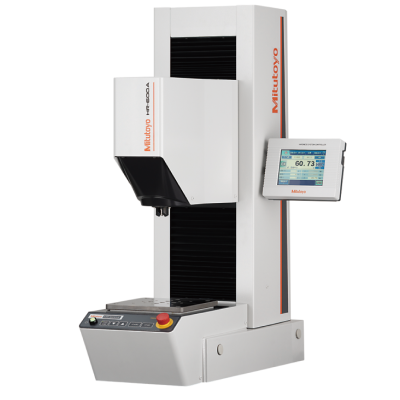
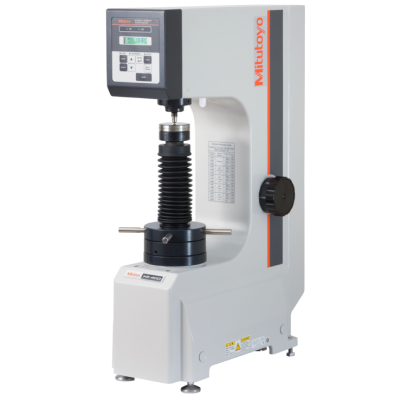
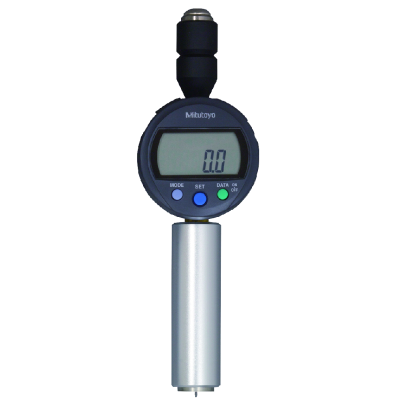
Vickers hardness testing machine HV-110 System main unit A-type


Vickers hardness testing machine HV-110 System main unit A-type
Model: 810-440D
Brand: mitutoyo
Origin: Japan
요약
The manual line up of the HV-100 Series has the following benefits:
- 144 mm (5.7 inch) colored touchsreen display (Type A) with higher visibility, easy to operate user interface
- Digimatic output for report creation.
- USB stick data export
- Electronic test force change.
- Max. specimen height up to 210mm
- LED illumination for best image.
- High number of accessories
- Vickers, Knoop, Brinell and KC fracture toughness measurement.
- Supports Brinelltest up to 62,5KG with an optional test force weight.
- External dimensions [mm]: System A: 307(W)×696(D)×786(H)mm System B/C/D: 307(W)×627(D)×875(H)mm
- Objective lens: Up to 3 pcs. mountable (one standard lens 10X mounted as standard)
- Force dwell time: 5-999 sec (selectable)
- Optical system: Infinity corrected optical system
- Illumination unit: LED light
- Test force:
N: 9,807; 19,61; 29,42; 49,03; 98,07; 196,1; 294,2; 490,3
(kgf): 1; 2; 3; 5; 10; 20; 30; 50
- Power supply report: UN 38.3 Test Summary Report
- Standard: JIS B 7725, ISO 6507-2
- Data output: RS-232C, Digimatic, USB 2. 0 interface
- Indenter approach speed: 60 µm/s, 150 µm/s selectable
- Control panel: Built-in touch panel, 5.7" Color LCD (HM-110A/120A for System A), Control software (PC for System B/C/D)
- Functions: Calculation of Vickers / Knoop*2 / Brinell*3 hardness, and ceramic fracture toughness based on IF method (JIS R1697), 3 display format (standard, list, simple), GO/NG judgment, test condition guide, curve and user correction, hardness corresponding value, statistics calculation
- Main unit mass: HV-110: Approx. 60kg, HV-120: Approx. 58kg
- Output: Digimatic, serial, USB2.0 series A (for memory)*1, USB2.0 B Type (for system communication)
- Resolution of diagonal length of an indentation: Objective lens less than 50X: 0.1μm (Objective lens more than 50X: 0.01μm)
- Specimen dimensions:
System A: height 210mm, depth 170mm (when using flat anvil)
System B: height 181mm, depth 170mm (when using manual XY stage 50X50mm)
System C: height 172mm, depth 170mm, System D: height 132mm, depth 170mm
- Test force control: Lever method and automatic control (load, duration, unload)
- Turret drive: Motor driven and manual operation
어플리케이션
명세서
- External dimensions [mm]: System A: 307(W)×696(D)×786(H)mm System B/C/D: 307(W)×627(D)×875(H)mm
- Objective lens: Up to 3 pcs. mountable (one standard lens 10X mounted as standard)
- Force dwell time: 5-999 sec (selectable)
- Optical system: Infinity corrected optical system
- Illumination unit: LED light
- Test force:
N: 9,807; 19,61; 29,42; 49,03; 98,07; 196,1; 294,2; 490,3
(kgf): 1; 2; 3; 5; 10; 20; 30; 50
- Power supply report: UN 38.3 Test Summary Report
- Standard: JIS B 7725, ISO 6507-2
- Data output: RS-232C, Digimatic, USB 2. 0 interface
- Indenter approach speed: 60 µm/s, 150 µm/s selectable
- Control panel: Built-in touch panel, 5.7" Color LCD (HM-110A/120A for System A), Control software (PC for System B/C/D)
- Functions: Calculation of Vickers / Knoop*2 / Brinell*3 hardness, and ceramic fracture toughness based on IF method (JIS R1697), 3 display format (standard, list, simple), GO/NG judgment, test condition guide, curve and user correction, hardness corresponding value, statistics calculation
- Main unit mass: HV-110: Approx. 60kg, HV-120: Approx. 58kg
- Output: Digimatic, serial, USB2.0 series A (for memory)*1, USB2.0 B Type (for system communication)
- Resolution of diagonal length of an indentation: Objective lens less than 50X: 0.1μm (Objective lens more than 50X: 0.01μm)
- Specimen dimensions:
System A: height 210mm, depth 170mm (when using flat anvil)
System B: height 181mm, depth 170mm (when using manual XY stage 50X50mm)
System C: height 172mm, depth 170mm, System D: height 132mm, depth 170mm
- Test force control: Lever method and automatic control (load, duration, unload)
- Turret drive: Motor driven and manual operation


