Comparator function: Impedance Analyzer IM7580 series
A comparator function lets you check whether measured values fall within a user-defined judgment range. This functionality is ideal for use in generating PASS/FAIL judgments for specimens.
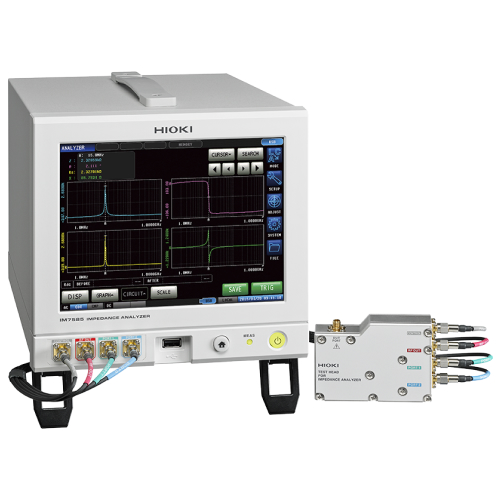
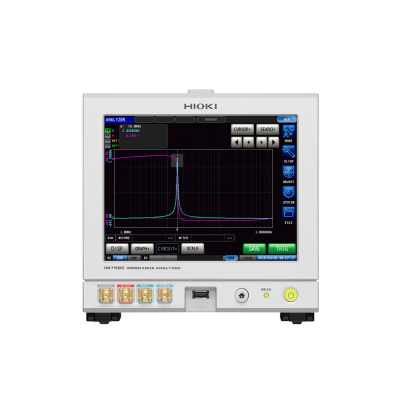
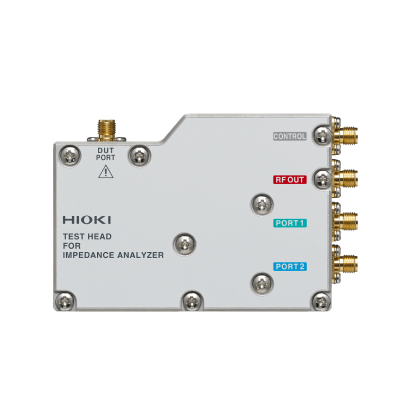


HIOKI IMPEDANCE ANALYZER
Model: IM7585
Brand: Hioki
Origin: Japan
Summary
1MHz to 1.3GHz Measurement Frequency Impedance Analyzer with 0.5ms Test Speed and 0.07% Variability
Hioki LCR Meters and Impedance Analyzers range from 1 mHz to 3 GHz devices to suit a wide range of applications in the testing of electronic components. The IM7585 Impedance Analyzer offers a top measurement time of 0.5 ms over a 1 MHz to 1.3 GHz frequency range and superior stability, making it ideal for R&D as well as high volume production of ferrite chip beads and chip inductors.
A comparator function lets you check whether measured values fall within a user-defined judgment range. This functionality is ideal for use in generating PASS/FAIL judgments for specimens.
The instruments’ contact check function lets you check contact between the specimen and measurement terminals to detect faulty contact or verify good contact.
Connect the cable of the test head to the impedance analyzer. Tighten the nut until the handle of the torque wrench bends slightly. Do not over tighten.
Accuracy guaranteed: 1 year
| Measurement modes | LCR mode, Analyzer mode (sweeps with measurement frequency and measurement level), Continuous measurement mode | |||||
|---|---|---|---|---|---|---|
| Measurement parameters | Z, Y, θ, Rs (ESR), Rp, X, G, B, Cs, Cp, Ls, Lp, D (tanδ), Q | |||||
| Measurable range | 100 mΩ to 5 kΩ | |||||
| Display range | Z: 0.00 m to 9.99999 GΩ / Rs, Rp, X: ± (0.00 m to 9.99999 GΩ) Ls, Lp: ± (0.00000 n to 9.99999 GH) / Q: ± (0.00 to 9999.99) θ: ± (0.000° to 180.000°), Cs, Cp: ± (0.00000 p to 9.99999 GF) D: ± (0.00000 to 9.99999), Y: (0.000 n to 9.99999 GS) G, B: ± (0.000 n to 9.99999 GS), Δ%: ± (0.000 % to 999.999 %) |
|||||
| Basic accuracy | Z: ±0.65 % rdg. θ: ±0.38° | |||||
| Measurement frequency | 1 MHz to 1.3 GHz (100 kHz setting resolution) | |||||
| Measurement signal level | Power: -40.0 dBm to +1.0 dBm Voltage: 4 mV to 502 mVrms Current: 0.09 mA to 10.04 mArms |
|||||
| Output impedance | 50 Ω (at 10 MHz) | |||||
| Display | 8.4-inch color TFT with touch screen | |||||
| Measurement speeds | FAST: 0.5 ms (Analog measurement time, typical value) | |||||
| Functions | Contact check, Comparator, BIN measurement (classification), Panel loading/saving, Memory function, Equivalent circuit analysis, Correlation compensation | |||||
| Interfaces | EXT I/O (Handler), USB communication, USB memory, LAN, RS-232C (optional), GP-IB (optional) | |||||
| Power supply | 100 to 240 V AC, 50/60 Hz, 70 VA max. | |||||
| Dimensions and mass | Main unit: 215 mm (8.46 in) W × 200 mm (7.87 in) H × 348 mm (13.70 in) D, 8.0 kg (282.2 oz) Test head: 90 mm (3.54 in) W × 64 mm (2.52 in) H × 24 mm (0.94 in) D, 300 g (10.58 oz) |
|||||
| Included accessories | Test head ×1, Connection cable ×1, Instruction manual ×1, LCR application disc (Communications user manual) ×1, Power cord ×1 | |||||